Showing posts with label shadow. Show all posts

Monday, January 21, 2019

Here's to New Adventures: Baby Taylor Arriving in May!

If you follow me on social media, you may have seen our announcement a week or so ago, but it's true: Mike and I are expecting a little one in May!  I'm currently 22 weeks pregnant and absolutely so excited to meet our new little bestie this spring!
We didn't send Christmas cards this year and decided to wait and mail New Year's cards (Remember this post?  I wasn't as behind as I claimed, we were just planning ahead - haha!) after we told all of our families over our Christmas trip to New England.
We had actually planned all year to use a photo from last January's South Carolina snowstorm, but then this news trumped that a bit.  We still decided to use that photo on the back of our cards with some blank space to write notes to our friends and family who we weren't able to see over the holidays.
Nice job to those of you with a keen eye who messaged me after I shared my One Second Everyday video from 2018!  You may have seen quick snippets of a pregnancy test and Mike's reaction on our anniversary (yes, I found out the day before our 4th anniversary and keeping it a secret to tell him on our anniversary was the most difficult thing ever!), a few ultrasound photos, and excited family around the holidays in those seconds of video. 
There has been quite a bit of radio silence around these parts over the last couple of months, and while I've been feeling great, I've been pretty tired after work and haven't had a lot of ideas outside of this big news taking up most of my brain!  My real-life goal is to post once per week for the foreseeable future.  I feel like that's a number that I can actually stick to, and we'll take it from there!  If there's anything you'd like for me to share, please let me know!

Tuesday, January 1, 2019

2018: One Second Everyday

At the start of 2018, I watched my friend, Macy's "1 Second Everyday" video.  Seriously, how cool of a concept is that?!  It's only a small moment of your day, but it's so much more fun to look back on than photos alone.  Somehow, I actually kept a resolution last year and recorded every. single. day.

It's certainly been a wild one for us, and we can't wait for all that's in store in 2019!!


Monday, August 6, 2018

My Style of Calligraphy

This shop has been compensated by Collective Bias, Inc. and its advertiser. All opinions are mine alone. #PowerToThePen #PilotYourLife #CollectiveBias

Hand-lettering and calligraphy has always amazed me.  I love the way a hand-written letter looks with every letter on the envelope perfectly scripted.  I learned a very formal style of calligraphy for my wedding a few years ago, using specialty calligraphy pens that didn't leave much room for error.  To be honest, I really haven't picked those pens up since I finalized my last place card before my wedding.

Over the last few years, I've done some hand-lettering, but mostly with your typical pen.  I love the way this style looks, and it's so much easier to doodle.  For those fellow hand-lettering enthusiasts who want to try their hand at DIY calligraphy (pun intended), I have the absolute best pen for you: FriXion® ColorSticks by Pilot Pen.
FriXion® is the only pen that gives you the power of infinite do-overs, so you can write, erase, and re-write with the smooth writing gel ink until calligraphy strokes are just right.

I thought I would share with y'all some of my tips for creating your own calligraphy:

1. Create your own alphabet with simple strokes.  Don't be afraid to go back, erase, and change anything you don't perfectly like!
2. Fill in vertical pen strokes to create dimension.  This is what will turn your simple lettering into true calligraphy.
3. Practice, practice, practice!  Create your own alphabet and stick to it, practicing over and over. 
4. Add in florals or other accents you like.  Swirls, lines, leaves - anything you want to make your calligraphy stand out.  FriXion pens come in a variety of colors, so you can create anything your imagination dreams of!
5. Create your own artwork!  I love using music lyrics or famous quotes when I doodle in my book.
What makes FriXion pens great is that you don't have to be afraid of mistakes or rip out a page after a simple mistake.  Now, those are easily fixable with erasable pens!  I shopped for my Pilot Pen supplies at Target, and you can even click here to get $1 off any FriXion® 2-pack or larger.
Have you tried calligraphy before?

Wednesday, April 25, 2018

One Room Challenge Spring 2018: Halfway There

We are just over halfway into the Spring 2018 One Room Challenge!  I've had so much fun looking through all the other participants' entries, and I'm happy to report that Mike and I are actually on track with our space.  Here's a link to our before photos and inspiration.  Below is what we've done so far (click on the items to link to the products to check them out for yourselves!):

Check!
1. Hang string lights
2. Power wash/vacuum/dust floors, screens, patio set, plant stands, and rocking chair - It's a miracle how a little cleaning can make a space look and feel brand new.
3. Spray paint signs (pineapple monogram and "hello") - Mike actually chose the "ballet slipper" color we chose!
4. Purchase door mat - did you see all my favorites last week??
To do:
1. Hang signs - Instead of drilling into the hardie plank, we decided to give these a try.  They say "extremely strong" - I'll report back!
2. Pot plants - We bought a bunch of impatiens and begonias that I just need to plant.
3. Place pillows (flamingos and florals)
4. Wash all windows and doors

Monday, April 23, 2018

DIY Cat Hammock Chair

This shop has been compensated by Collective Bias, Inc. and its advertiser. All opinions are mine alone. #MorrisKnowsBest #CollectiveBias

Okay, I have to be 100% honest right now, this might be one of the most fun DIY projects I've ever done.  Y'all know how much I love my cats, so anything for them is always high up there.  On top of that, I had this wild idea to make a fun play spot for them, and Mike helped me make it happen.  Seriously, they love every aspect of this chair, and I'm so excited to share it with you.  Moral of the story for this DIY project is definitely that my new favorite go-to tool in the garage is a staple gun.  That thing can do anything!
I went thrifting to find this perfect chair and pair of pillow cases.  Bonus was that part of the back was broken (that I knew I was removing anyway!) so everything was only $6.  Clearly Roxy isn't good with change (me either, girl) and loved it from the second I brought it home.  I knew I'd win her over in the end, though.
In addition to the chair, 2 pillow cases, a staple gun, and scissors, I went shopping at Dollar General for the rest of the items I needed: thick sisal rope (similar to hemp), a hanging cat toy, mug hooks, a grommet kit, and, of course, their favorite: 9Lives® cat food.  They have so many varieties that cats can't resist, from Meaty Pate with ground meat, poultry or fish to Hearty Cuts with chunks, cuts, and shreds in a rich, thick gravy.  9Lives is dedicated to the health and happiness of all cats, and it definitely shows in the quality of their products.  Check out DollarGeneral.com to find coupons and save on 9Lives wet and dry cat food - they're live now through 5/31/18!
 Alright, now here is how to make your own cat activity chair!

1. Take the chair cushion off the frame, and wrap it inside one of the two pillow cases.
2. Set the covered cushion back on the chair, pulling the new cover fabric tight, and staple the pillow case in place.  Keeping the cushion on the chair frame for this step will help keep all the fabric in place while you staple it in place.  
3. Remove the cushion from the chair again, and cut away all extra fabric.  Place the cushion back on the chair one last time.
4. Tightly wrap the sisal rope around the back of the chair (and the legs, if you wish).  This is a perfect way to cover any unsightly cracks or scuffs, especially if you're using a thrifted chair.  Cats love to scratch this rope, and it'll keep them off your nice furniture!
5. Staple a hanging cat toy to the top of the chair to add additional play fun.
6. Screw large mug hooks into the legs of the chair at even heights. We used an electric drill to create pilot holes and make this process a little easier. 
7. Measure the size for your hammock and mark off where you will place the grommets to hang the hammock on the mug hooks.  We made sure to leave a little extra room between the grommets and not pull the fabric tight so that it would look and hang the most like a hammock for the cats.  We purchased an all-in-one grommet kit that had the parts of the grommet and all the tools needed for installation at Dollar General.  It was so easy to use, and the whole process only took about 10 minutes to insert 4 grommets.
Here it is: before and after!
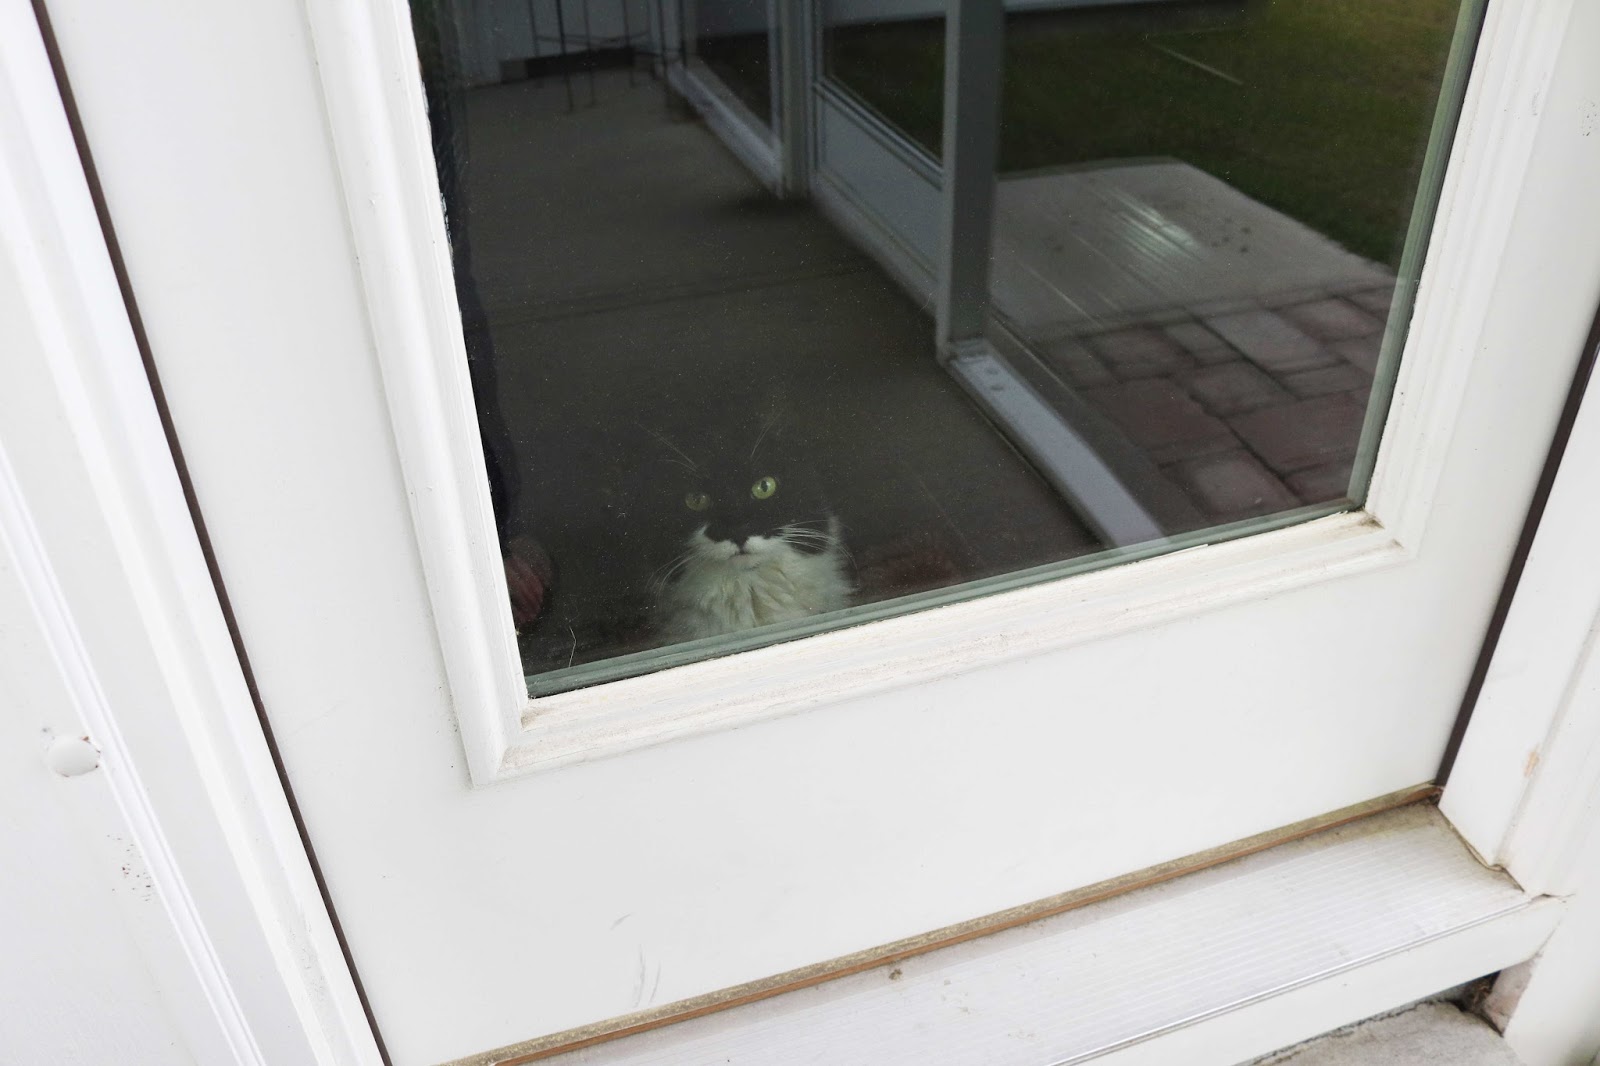
Clearly Shadow is loving it! ...and the food, too.
Do you have a cat who's part of your family?  Have you treated them to 9Lives cat food?

Wednesday, April 18, 2018

Because Everyone Needs A Funny Door Mat...

We're a couple of weeks into the One Room Challenge (here's my inspiration and "before" photos), and as you might have seen on my Instagram, we made the cutest purchase ever last week.  I still don't know how I got both cats to pose (okay, I lie, it was with a lot of treats), but clearly they like their new mat.  I actually found Shadow curled up on it the next day, right in the sun.
The mat is from the cutest Etsy shop, Nine to Wine Design.  I actually found them on a Buzzfeed article about "everything a crazy cat lady in training needs."  In that piece, I was inspired by her "There's, like, a lot of cats in here" mat.  We decided that three would be the threshold of "a lot" of cats, so we went in search of a different mat, and she did not disappoint.  Seriously if you type "funny door mat" into Etsy, you will get so many hysterical results.

Even if you're not participating in the One Room Challenge, I know this is the time of year to refresh our outdoor spaces, so I rounded up a bunch of my favorite designs from a bunch of different artisans to share with you today!


A mat like this is just such a fun way to add a little humor to your home, and it's already become such a fun conversation starter for friends who come over!  Which one is your favorite?  I think we'll be getting one for our front door soon, too!


Wednesday, April 4, 2018

One Room Challenge Spring 2018: Inspiration and "Before" Photos

I'm so excited to participate in the One Room Challenge for the first time this spring.  We built this house almost two years ago, and if you've been following along with my blog for a while, I might sound like a broken record because I wrote about redoing this space literally this time last year.  I loved my ideas last year so much so that I'm sharing that inspiration board with you today.  Well, things got in the way last year, and the space still looks exactly the same, so I'm excited for this six-week challenge to get me moving to ready this space for summer.
The space I will be redoing is our back breezeway that connects our house and garage.  We have a detached garage that faces an alley behind our house.  (All of the homes on our street face a two-way street, but everyone's driveways and garages are on a one-way alley behind our homes.)  We use this space a lot.  Our grill is right outside the breezeway on a little stone patio we put in last fall (which reminds me that I still need to write a post with that how-to!), and it's a great space to spend time outside with the cats since it's screened in.  A lot of the time in the spring and fall, we just have the back door open from our living room to the breezeway.  I think it's about time to prettify this space a bit!
So, here's my inspiration from last year:
The only changes I'll be making are the color scheme and rug.  Originally I was thinking of more pastel colors last year but when I saw some amazing Lilly Pulitzer outdoor pillows for sale in last year's After Party sale, I jumped on them (here and here)!  Also, there will not be a rug!  Because the breezeway is open on both sides, it can rain crazy sideways into that space.  Even the thickest outdoor rug would be wet and soggy half of the time with our crazy summer Charleston storms, so forget that.  Instead, I'm looking for a funny new welcome mat, maybe this one or this one!  And clearly this one will get the most use out of this space - haha!
I hope to be back every other week or so to link up with the other One Room Challenge participants.  If you want to join in yourself, you can check out all the details here!

 
Design Poppiness Designs